One of the biggest questions I get as an Airflow consultant is, “How do we develop our Airflow workloads locally?”. This question is an important one because testing workloads in production is neither scalable nor efficient. This blog post aims to help you emulate your production Apache Airflow on your local system to develop and test your DAGs before deploying them to production.
Airflow as a Managed Service
Of course, answering this question depends on how you host Airflow. For example, if your company uses a managed service like Astronomer, then you will want to use the Astro CLI, which allows you to run Airflow on your local machine in minutes and deploy to your Astronomer hosted Airflow deployments. The Astro CLI is open source, and I’ve seen development teams that aren’t even Astronomer customers use the Astro CLI for local development because it’s that good. Similarly, AWS offers MWAA Local Runner, and Google Cloud Composer offers their own Local Development CLI Tool.
Everyone Else
But what if you are hosting Airflow yourself? The OSS Docs offers a Quickstart Guide, but this guide only shows how to pip install Airflow, which may not be the best way to emulate your production instance. For example, you are developing your workloads on MacOS or Windows - but you are hosting Airflow on Kubernetes or Linux. If this is the case, you’ll run into the classic downfall of “Well, it worked on my laptop; why isn’t it working in Prod? 🤬”. This problem is because some operating systems require different dependencies than others (not to mention the Python version you’ve installed to your computer vs. what’s running in your production instance).
Luckily, this is why containerization services like Docker and Podman exist. So, we’ll use that to emulate our Airflow environment. To get started, make sure you have Docker Desktop installed to your local machine.
However, even with Docker installed, we must create many different files before we can finally run a command to create our containers. Which is why I’ve made this template repository to simplify the process (please give it a star if you’re feeling generous ⭐️). So, let’s get started by cloning it:
$ git clone git@github.com:chrishronek/airflow-template.git && cd airflow-template
Now that you have cloned the template repository take a peek at the project’s contents:
.
├── Dockerfile
├── LICENSE
├── Makefile
├── README.md
├── connections_example.yaml
├── dags
│   └── example-dag.py
├── docker-compose.yaml
├── requirements
│   ├── dev-requirements.txt
│   └── requirements.txt
└── variables_example.json
We’re not going to dive into each one of these files, but it is essential to understand the following:
docker-compose.yaml
This file contains instructions for which containers Docker Desktop will initialize, if they will remain running, and other additional configurations. As you study the contents of this file, you may notice the instructions outline key Airflow components (i.e., Scheduler, Webserver, Database, etc.)
Dockerfile
While the docker-compose.yaml specifies how to spin up multiple containers that makeup core Airflow components, the Dockerfile allows us to extend some customizations to the core Airflow image (like which image tag we want to pull from DockerHub and which dependencies we want to install alongside that base image).
FROM apache/airflow:2.7.3-python3.10

# install base dependencies
COPY ./requirements/requirements.txt .
RUN pip install -r requirements.txt
If you wanted to add steps to customize the image further, you could do that in the Dockerfile. Examples of this include (but are not limited to):
- creating a Python Virtual Environment within the container to further isolate project dependencies
- setting environment variables that the Airflow application can call
- copying files from your local machine into the container
./requirements/requirements.txt
The requirements.txt file is where we put pip packages that will get installed alongside our Airflow image. For example, if you use Snowflake as your data warehouse, then you’d probably want to include apache-airflow-providers-snowflake in your requirements.txt to install the Snowflake Airflow Provider.
Makefile
The Makefile aliases commands for us. These shortcuts are beneficial so that we don’t have to type out long, redundant commands in our terminal repeatedly. If you are a Windows user, install GnuWin to use Make commands.
You can see the list of Make commands available by running make help in your terminal:
$ airflow-template git:(main) make help
clean                stop and delete containers, delete volumes with database
down                 stop all services
init                 run database migrations and create the first user account
reset                stops and restarts all services with a cache-clearing step
restart              stop and start containers
up                   start all services
Running Airflow in Containers
Now that you have the lay of the land let’s execute make up to run Airflow locally:
$ airflow-template git:(main) make up
... # a bunch of logs and output
[+] Running 8/8
 ✔ Network airflow-template_default                    Created           0.0s
 ✔ Container airflow-template-postgres-1               Healthy           0.0s
 ✔ Container airflow-template-airflow-triggerer-1      Started           0.0s
 ✔ Container airflow-template-airflow-init-1           Exited            0.0s
 ✔ Container airflow-template-airflow-connections-1    Started           0.0s
 ✔ Container airflow-template-airflow-scheduler-1      Started           0.0s
 ✔ Container airflow-template-airflow-webserver-1      Started           0.0s
 ✔ Container airflow-template-airflow-variables-1      Started           0.0s
After which, if you were to run a docker ps -q command, you should see the container IDs running on your local system:
$ airflow-template git:(main) docker ps -q

d79469a3dd96
312a9a93dffe
1adfac8776c4
93a95b62ad33
For more container information, you can omit the -q arg from the last command.
Accessing the Airflow UI
If your containers are running and healthy, navigate to http://localhost:8080 to access the Airflow UI (use the word admin for both the username & password).
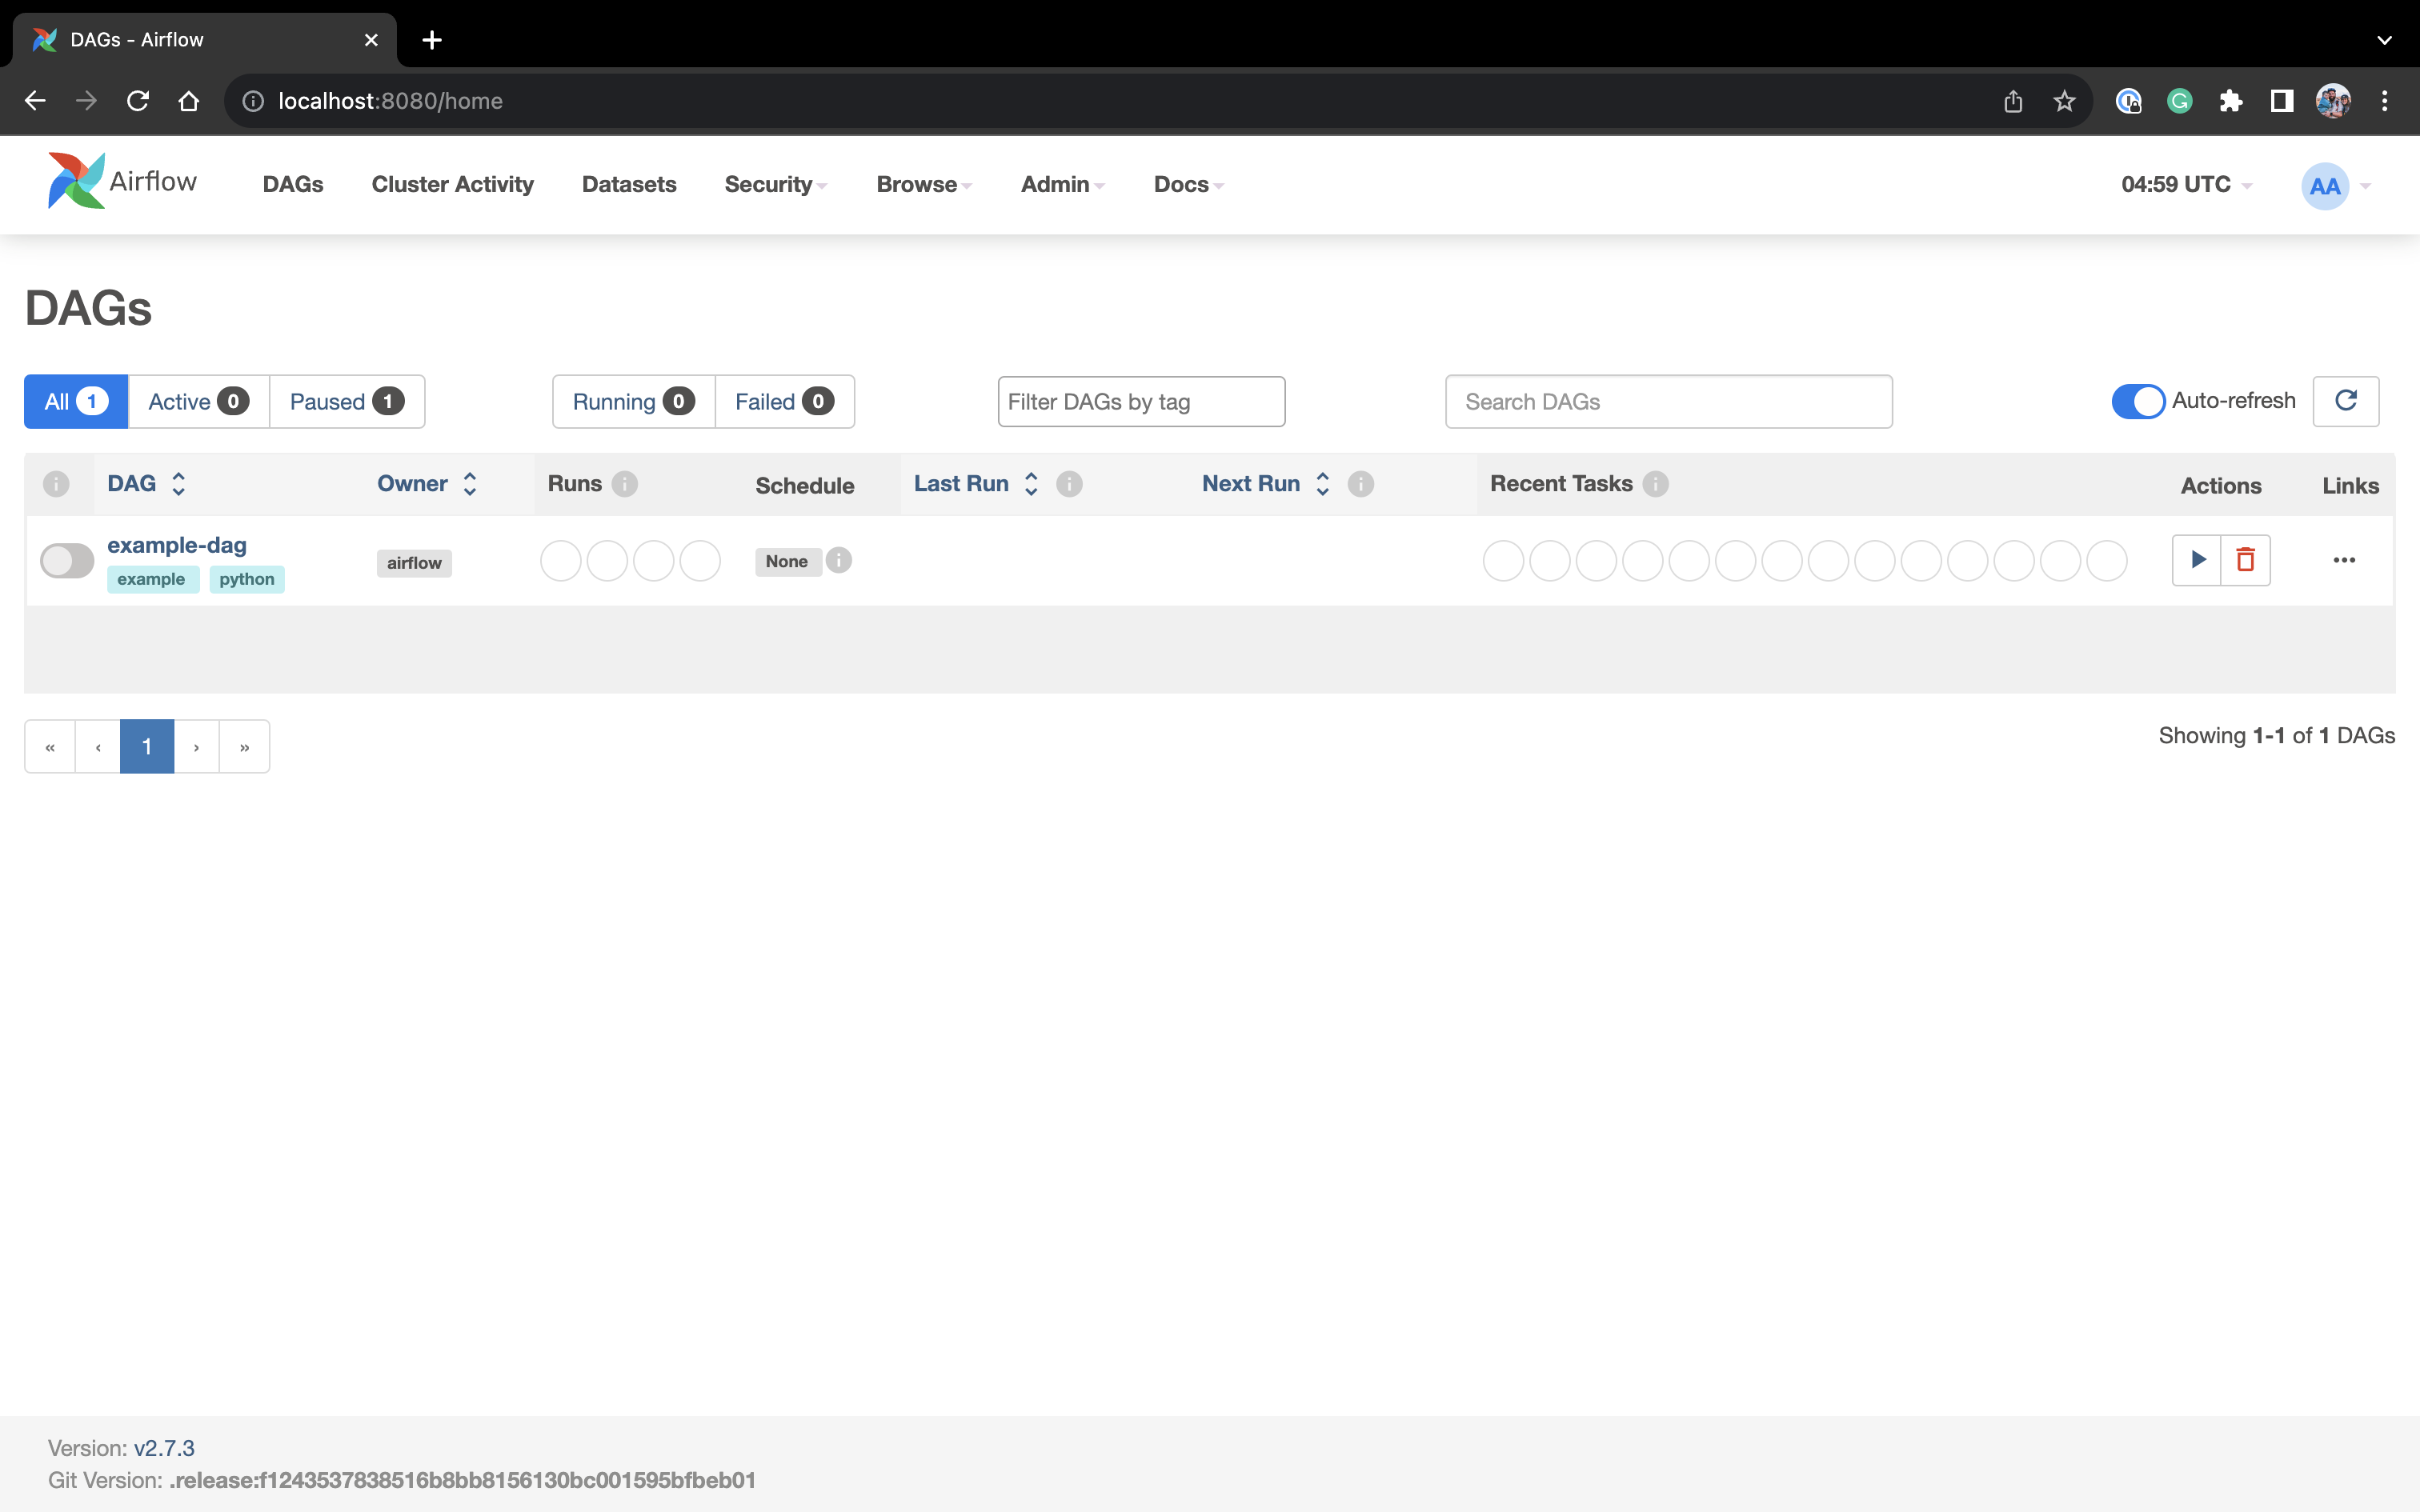
As you develop against existing DAGs, you do not need to restart your containers (because the /dags directory is mounted into the container). However, if you add items to the docker configuration files, requirements.txt, or entirely new DAG files, you must restart your local environment to enact those changes.
Conclusion
In conclusion, developing Apache Airflow workloads locally is essential for efficient testing and development. Whether using managed services like Astronomer, Google Cloud Composer, AWS MWAA, or self-hosting Airflow, containerization services like Docker make it easy to emulate your production environment and streamline the development process. Following the provided template repository and Makefile commands, you can quickly set up and run Airflow locally, ensuring consistency between your development and production environments and avoiding the classic “It worked on my laptop, why isn’t it working in production?” frustration. Happy local Airflow development!
Need Help?
If you are looking to improve your Airflow local development workflow or are in search of other Data Consultancy services for your business, please reach out to us on Discord or submit a service request here.


